Building and Debugging My New PC: A Journey of Trial and Error
- Alec Briggs
- Dec 2, 2024
- 3 min read
Updated: Dec 3, 2024
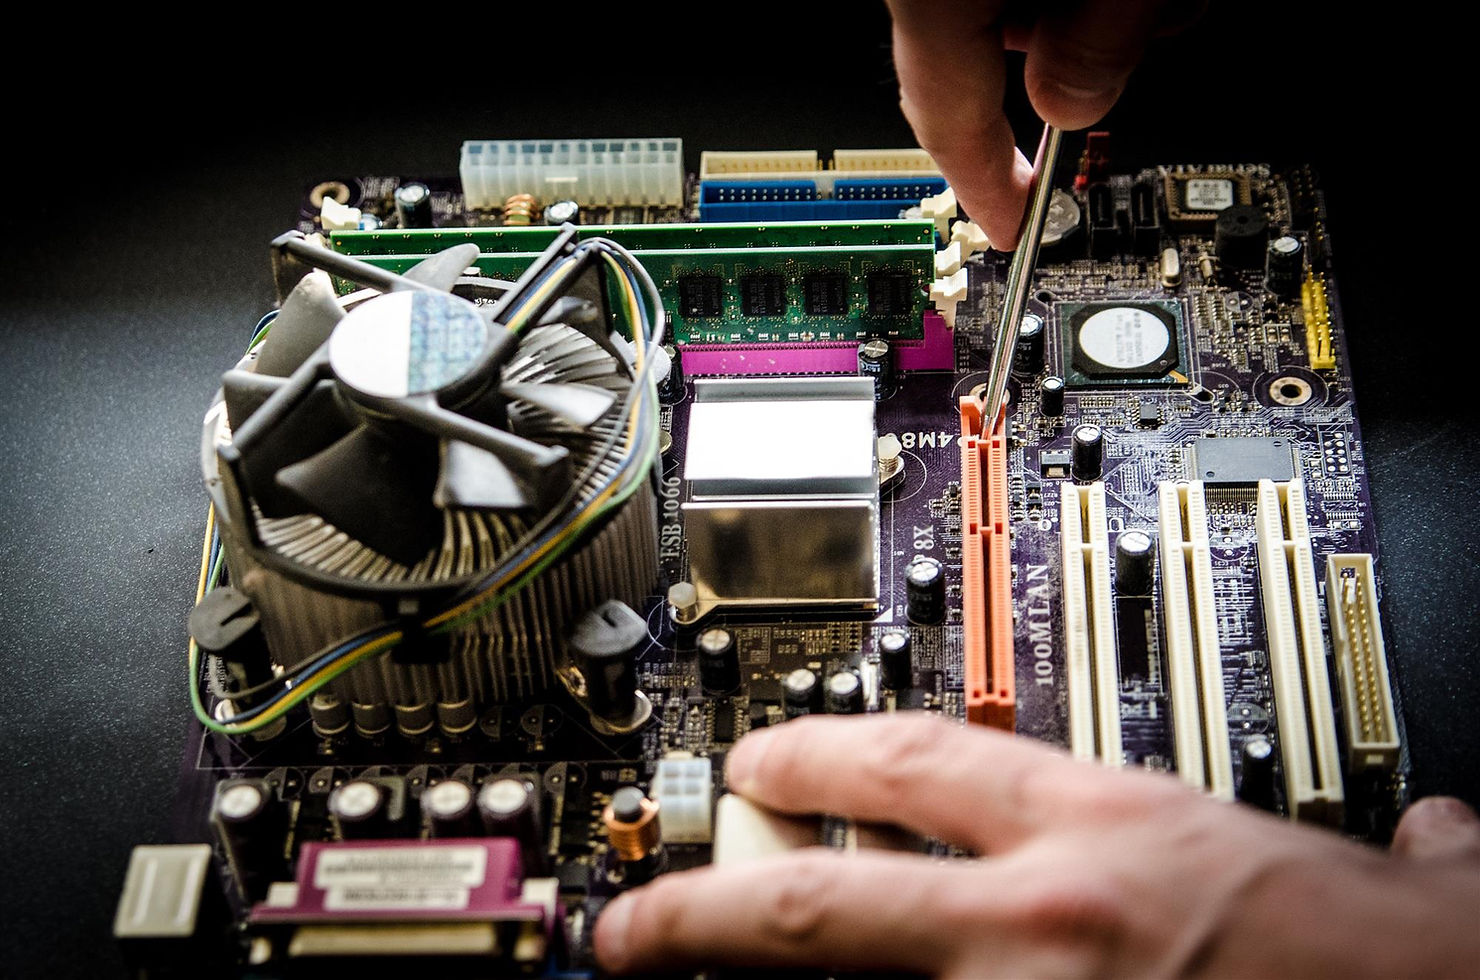
Building my first Windows 11-ready PC was an adventure. It wasn’t perfect, but each hiccup taught me something new. If you’re into PC building, here’s how my experience went and what I learned along the way.
The Dream Build
To future-proof my setup, I picked high-quality components:
Case: Zalman Z10
Motherboard: MSI PRO B760-P WIFI
CPU: Intel i7-13700K
CPU Cooler: Noctua NH-L12 Ghost S1
RAM: 32GB Crucial Pro DDR4-3200
Storage: Crucial P3 1TB NVMe
GPU: MSI RTX 3060 Ventus 2X 12GB
PSU: Cooler Master MWE Gold 850W
This combination promised reliable performance for gaming, multitasking, and even future upgrades.
Step 1: Assembling the Beast
The build began with setting up the case for optimal airflow. I rearranged fans to keep everything cool during those long gaming sessions. Then came the main components:
Mounted the motherboard.
Installed the i7 CPU, carefully aligning the arrows.
Slotted the RAM sticks into A2 and B2 for dual-channel performance.
Applied a small dot of thermal paste, and mounted the Noctua CPU Cooler.
Inserted the RTX 3060 into the top PCIe slot for maximum bandwidth.
Secured the PSU and tucked it neatly into place.
Step 2: Wiring Up (AKA The Puzzle Challenge)
Here’s where the fun—and frustration—kicked in. Wiring a PC is like solving a puzzle with spaghetti. My PSU came with a mix of cables:
24-pin for the motherboard
8-pin CPU power
8-pin GPU power
SATA and peripheral cables
The Front Panel Conundrum
The real challenge? The front panel connectors (JFP1). These tiny pins control the power button, LEDs, and reset switch. One misstep here, and your PC won’t start. After scouring the manual, I connected:
Power LED: Pins 1-2
Power Button: Pins 5-6
Reset Button: Pins 7-8
Drive LED: Pins 9-10
Next was the USB 3.0 header—a big, stiff connector that demands precision. I held my breath, lined it up, and clicked it into place.
Step 3: Troubleshooting the "Uh-Oh" Moment
When I hit the power button… nothing. The PC was as silent as a library. This led me to believe the problem was within the power unit itself.
The Paperclip Test
After some research, I tried the paperclip test—a quick way to check if the PSU is working. Bending a clip, I connected pins 4 and 5 of the 24-pin PSU connector. The PSU fan spun up, confirming it wasn’t the culprit.
The actual problem? The motherboard’s 24-pin socket needed a firmer push. These modern boards are tight, so don’t be afraid to apply a little muscle (carefully).
Step 4: Prepping for Windows 11
Before installing Windows, I tweaked some settings in the BIOS:
Enabled TPM 2.0 for security.
Turned on Secure Boot.
Switched to UEFI mode.
Disabled Legacy USB.
Set the USB as the first boot device.
Pro tip: Use the back USB ports during the install—they’re more reliable than the front panel ports. After that, Windows 11 installed smoothly, from a USB with the .ISO on it.
Lessons Learned
Building a PC isn’t always plug-and-play, but it’s a rewarding process. Here’s what I figured out:
Test everything: Check all connections before powering on.
Paperclip test: A lifesaver for diagnosing power issues.
Read the manual: It’s not optional—especially for front panel connections.
Be patient: Troubleshooting is part of the fun.
How I Can Help
Through this experience, I’ve become skilled at:
Building PCs from scratch.
Diagnosing faulty parts.
Fixing power-related issues.
Installing and configuring Windows 11.
Optimizing airflow and cable management.
Building a PC can be tricky, but it’s one of the most rewarding things you’ll do. If you're stuck or have questions, don't hesitate to ask—I’ve been through it, and I’m happy to help. Share your PC-building stories in the comments, or let me know what challenges you've faced. Let’s keep the conversation going!


Comments